Food is looking fashionable very fashionable these days, and charcuterie boards are so chic! If you’re expecting a friend over for a glass of wine (or two), creating a charcuterie board will certainly impress. A small charcuterie board is also perfect for an at-home date night, as it allows for lots of talking while nibbling on tasty little morsels.
Plus, it’s not too filling and it’s a great starter before dinner. I absolutely love creating unique charcuterie boards for friends and family! It’s easy to do and definitely fun to create! The image above is a charcuterie board I created for a Superbowl gathering I had at my home.
What is a charcuterie board, you ask?
If you’re not familiar with them, they’re basically a selection of meats, cheeses, fruits, and veggies all beautifully arranged on a wooden cutting board or platter.
🎁 Love travel giveaways? See what you can win in our current giveaway!.
Creating a charcuterie board may seem like a daunting task, but it’s actually quite simple – and a lot of fun!
In this blog post, I’ll walk you through everything you need to know to create a picture-perfect charcuterie board for two.
Here’s what you’ll need to create a charcuterie board:
A selection of meats
A selection of cheeses
A selection of fruits and veggies
A selection of nuts and candies
A wooden cutting board or platter
💡 Insider secrets, not found on the map. Join Michelle Valentine’s email list for exclusive travel advice and behind-the-scenes stories.
A cheese knife
An assortment of crackers
A couple of small plates
Now let’s get started!
The best ingredients for a charcuterie board for two
When creating a charcuterie board for two, the key is to choose a variety of meats and cheeses that will pair well together.
Common selections include cold cuts like salami, prosciutto, and pastrami, as well as some cured and smoked meats like turkey, ham, duck, or even soppressata.
As for cheese, you’ll want to choose a mix of tastes and textures. Think goat or brie for a creamier texture, and an aged gouda or cheddar for a sharper flavor.
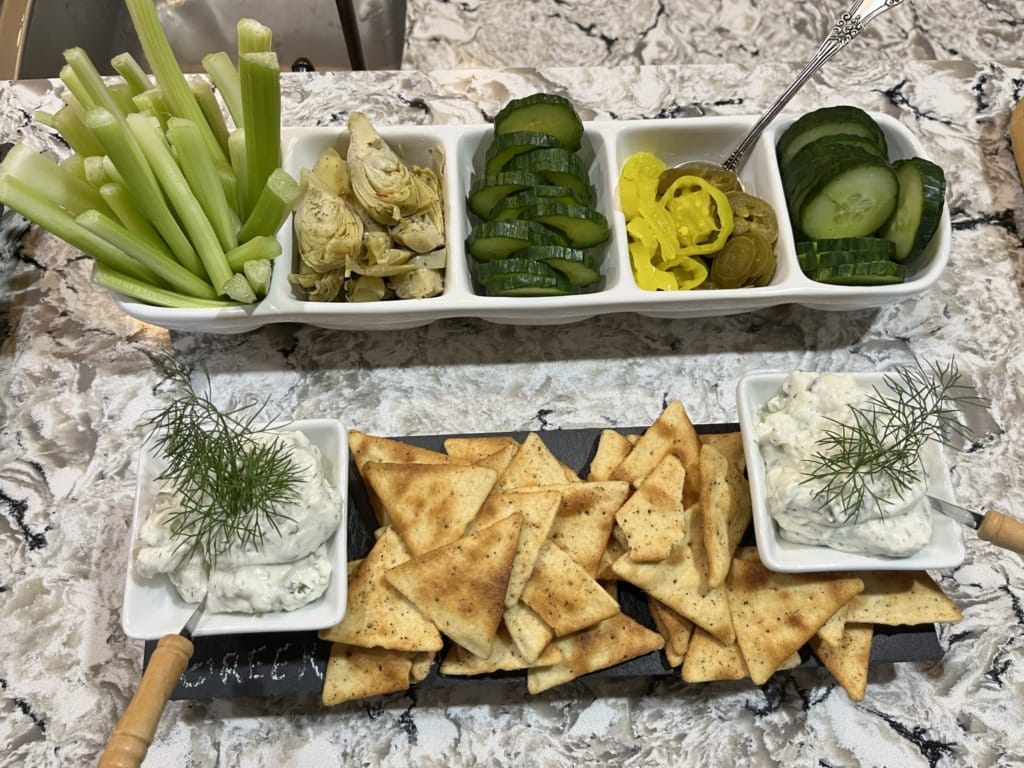
Fruits, veggies, and crackers are essential elements to a charcuterie board.
There are so many options to choose from here. Olives, pickles, roasted red peppers, artichoke hearts, and sun-dried tomatoes all make great additions to the board.
As for the fruits, look for fresh or dried figs, apples, pears, and grapes.
For the crackers, pick a mix of crunchy and soft options like wheat thins, bagel chips, lavash, and club crackers.
How to assemble the perfect charcuterie board
Now you’ve got all the ingredients for a delicious charcuterie board – but how do you put it all together?
First, start by having a beautiful board or platter
Here is a quickie platter I always create – it’s from the Mud Pie line of serveware that I just love! Below is a slate board that is fun to use, as it comes with chalk to write on.
I have a few, given to me as gifts by friends and family. I have a couple of flat bamboo boards (one with an etching of my home state, Michigan).
I also have two boards that I really love, which are the full-on combos, complete with drawers for holding all the cheese knives, plus little chalkboard signs, chalk, and some little forks.
Also, I have slate boards that I can write on with chalk to showcase certain meats or cheeses. Sometimes I use these flat boards for appetizers that I have already prepared on crackers.
The key to arranging
The key is to carefully arrange each item on the board or platter in a way that makes it look and feel inviting.
Start by laying out the meats in a fan shape or simply twist to pile them on the board.
You’ll want to arrange them from mild to strong – so the most delicate meats go on one side, and the strongest on the other.
Next, arrange the cheeses in a similar fan shape. Keep in mind that the shape of the cheese will dictate how it looks on the board, so aim for something that looks aesthetically pleasing.
I like to place the entire block of cheese on the board, and creatively cut into triangles about one-third of the block. Then I stab the knife into the big block of cheese for further cutting if the triangles run out.
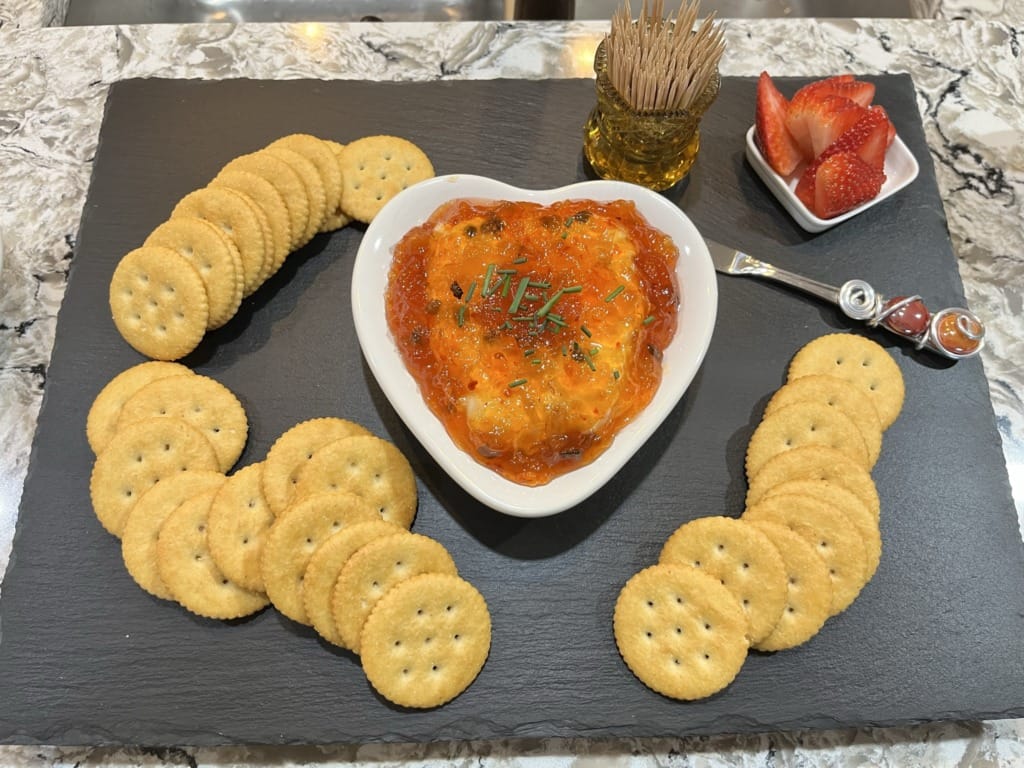
Then add in the fruits, vegetables, and crackers to fill in any empty space on the board.
And lastly, drop in a few heavy treats like chocolates and nuts.
Be sure to place plates on either side of the board to finish it off.
Picture-perfect tips for the best charcuterie board for two
Here is a slate board that I love, too. It comes with chalk so you can write on it, too!
When it comes to creating the perfect charcuterie board for two, presentation is key.
Here are some handy tips to help make your charcuterie board look like it was made by a professional:
Invest in a good-quality wooden cutting board or platter. Not only will it make your board look great, but the natural wood grain adds a nice touch of rustic charm.
Use fresh, seasonal ingredients whenever possible. Not only will they look great, but they’ll also taste delicious.
Don’t be afraid to get creative. Try adding in some herbal-infused honey, mustards, or olive tapenade for some added flavor and texture.
Top it off with some edible flowers and greenery for a pop of color.
To wrap this up:
Whether you’re entertaining guests or just wanting to treat yourself, creating a picture-perfect charcuterie board for two can be a fun and rewarding experience. By following these simple steps, you can create a board that looks beautiful and tastes delicious.
So the next time you’re in the mood for a special snack, try making a charcuterie board – it’s fun to make, and you won’t be disappointed in the outcome!